I had a look through my wardrobe and found an M&S top that fits me nicely and decided I would use this to get a pattern for my new tops.
I struggled a bit with the fabric as it was very slippery, it is quite fine, I am not sure what it is called but think it might be some kind of georgette or crepe. It is see through so I would have to wear a camisole or something underneath. I managed to get it folded over in the end so that I could place my top onto it. The top was folded in half and I was going to cut the back first. I cut around the outside leaving plenty of room for seams and a little bit extra as the top I was using is a t-shirt material and the fabric I was using was not as stretchy. I made the length a little bit longer than the original top. The top has capped sleeves so I bent these back so I could see where to cut for the armholes.
The front of the top has pleats around the front neck line but I was just going to do gathers instead. When I folded the top in half the other way round so I could see where to cut the front I had to place it so that the fold was matching the fold of the fabric at the bottom but then as it went upwards the fold moved away from the fold of the fabric. This is so that the neck would be cut bigger so that I could gather it up.
Next I cut a facing for the front neck, it was just the shape of the front neck hole and about 1 inch wide. The last thing to cut was the capped sleeves. I decided to make a pattern on some paper first for these as it would be easier to cut around. I had the sleeve folded in half and then drew a line around he edge making sure it had a seam allowance. Then I put the pattern on my folded fabric and cut two out.
The first bit of making up the top was to gather the front neck. I just run a hand sewn thread across the lower neck bit making sure it was centred. Then I pinned the facing to the front piece right sides together starting from the shoulders and making my way down to where the gathering was, then I just had to pull the thread so that the front neck fitted the facing. Then I had to sew around the edge, trim and turn it over. I pressed it although the fabric I was using was not very good at pressing, and then I sewed a top stitch line all around. Next I turned over the bottom of the facing all the way round so that it gave me an even width and sewed another line around it to hold it down.
The next thing to do was to sew a small hem around the back neck. I only double turned the fabric over a tiny bit and sewed it down. I did the same for the bottoms of the two sleeves as well so they were ready to go. Next I sewed the two shoulder seams together and zigzagged over the edges. then I opened out the armhole and pinned the sleeve across. I found the centre of the sleeve first and pinned this to the seam then I started each end and pinned along both sides. There was a little bit of fabric left over at the middle so I just gathered this up. Then I sewed in the sleeves and made good the edges.
Next thing to do was to sew the side seams together. This was quite straightforward and I zigzagged these too. Then I just had to check the bottom was even and sew a small hem around the bottom and the tops were made.
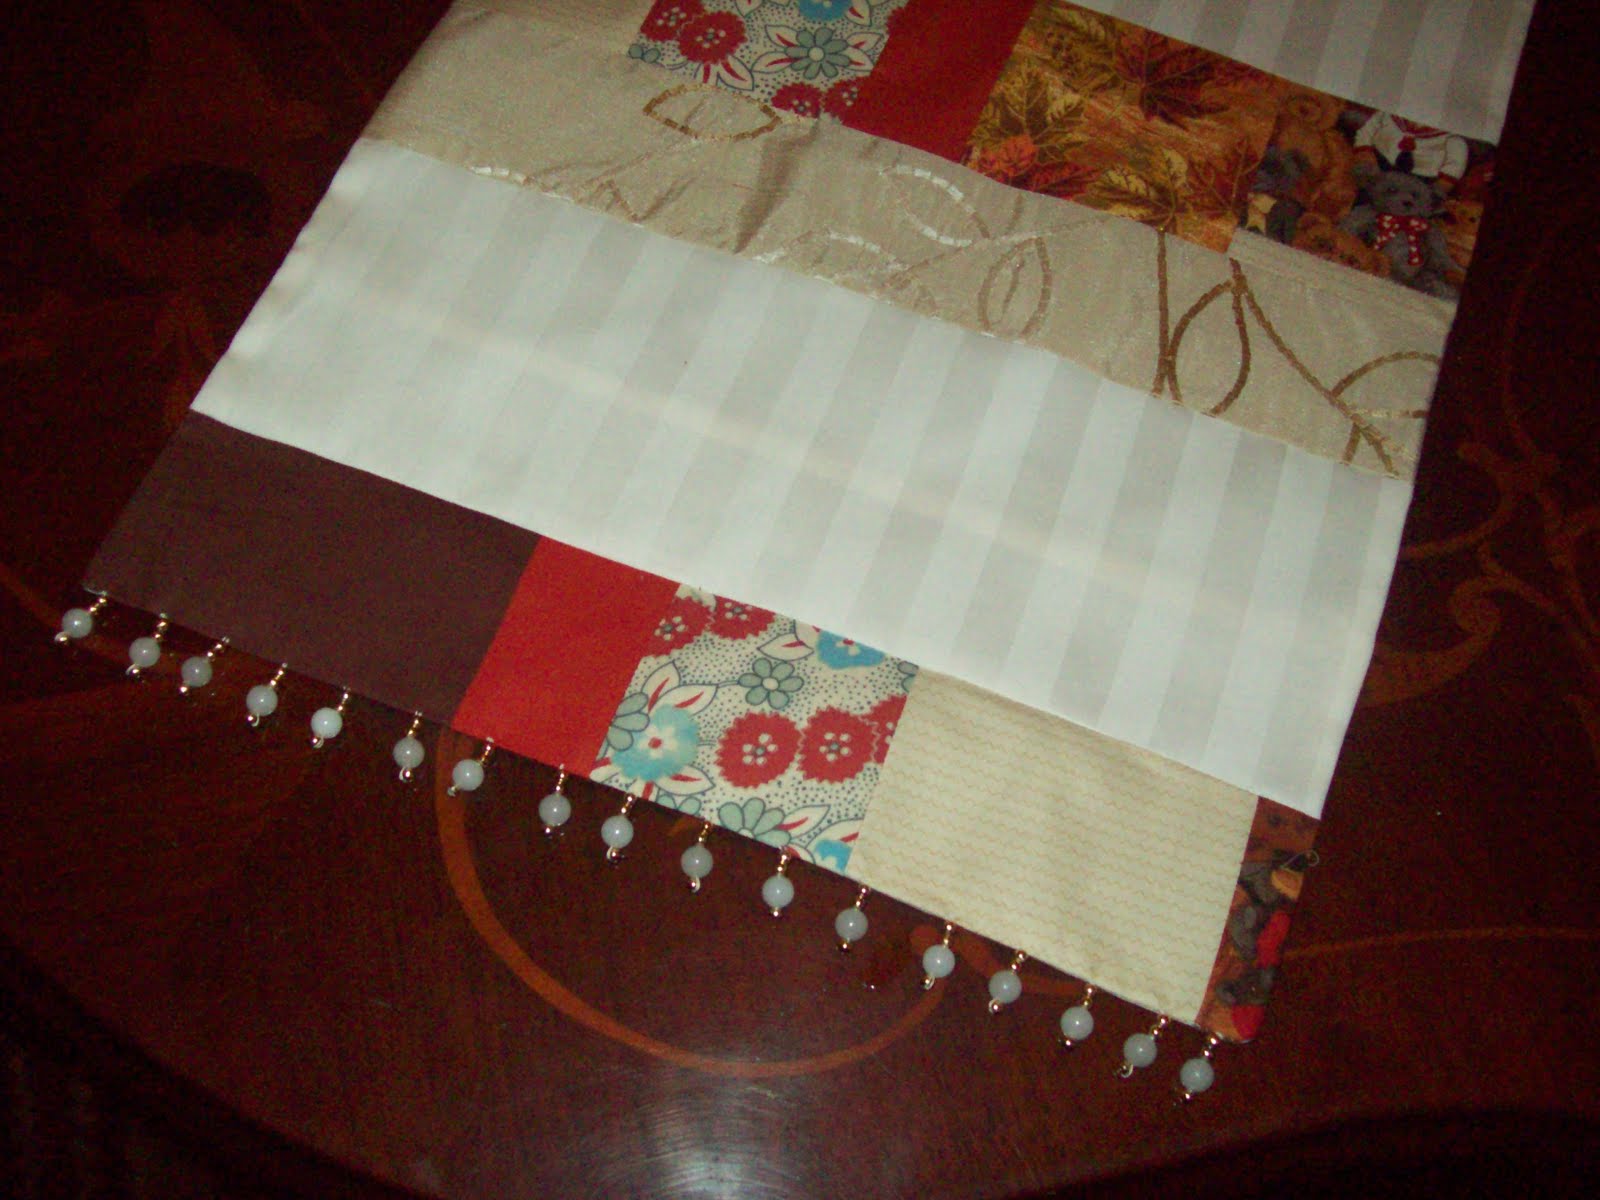
I decided to decorate the necks with some beading, nothing elaborate, just a nice finishing touch.
Here are some photos of my finished tops. The fabric was £2 a metre at the market and I bought 2 metres of each so £4 a top.

The beads I used around this neck are some small plastic flower beads in a blue that matched the fabric.


On this top I sewed some small pearl beads.