We have been looking for a new sofa for our front room but all the ones within our price range have been either too ugly, the wrong colour or too uncomfortable so my Other Half asked me how I felt about recovering our old one again. I say again as I have covered it twice now, the first time I used a cheap fabric which didn't last very long and looked shabby quite quickly. The last time I did it the fabric was a better quality but the colour doesn't go with our room these days. We were given a black leather two seater sofa a while ago which was nearly new so we wanted a new sofa that would look right with the black leather.
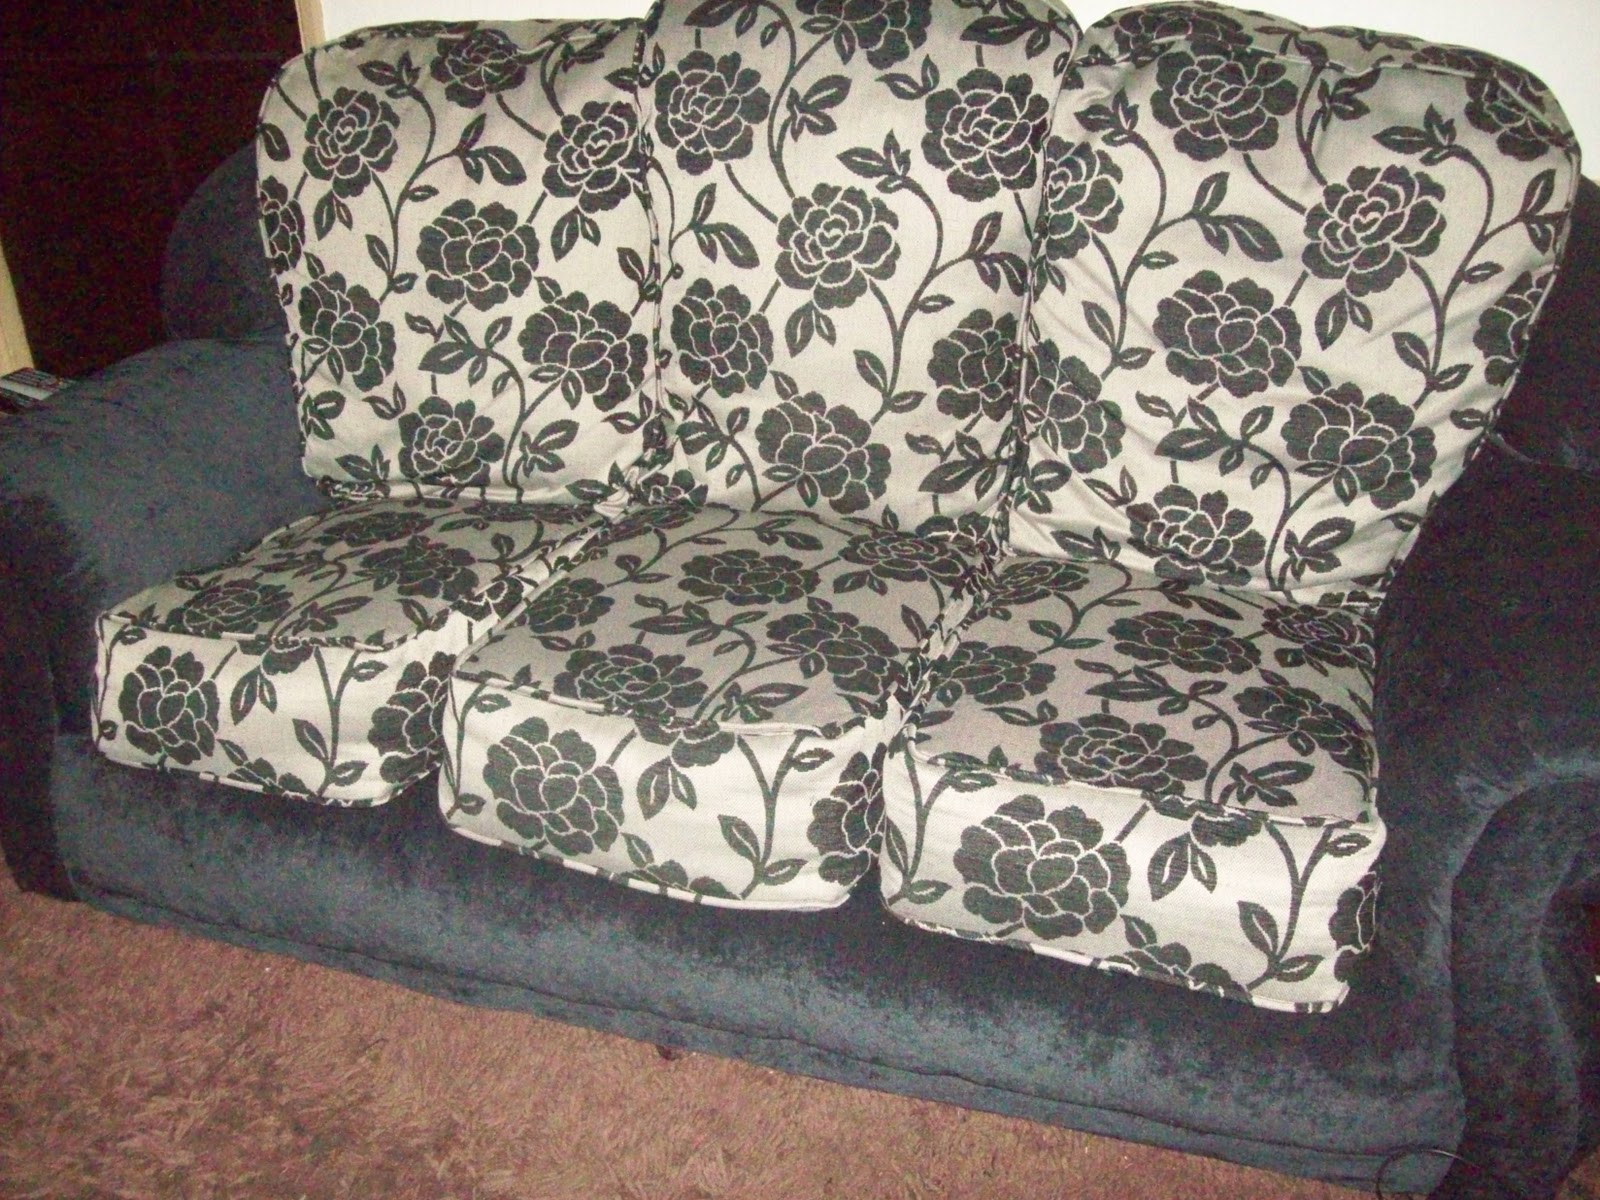
This is a photo of what our sofa looks like at the moment.
When I made these covers I still didn't know exactly what I was doing, I was just winging it as I went along but I have been watching some videos on You Tube and reading up on various web sites and have picked up some tips to try out this time round. I am going to keep this blog going through out the project so I can look back at it when its finished and remember what I did.
Choosing the Fabric
We went to Dunelm Mill first to have a look at their fabrics and saw a couple that we liked. We thought we would go for a chenille type fabric for the covers and thought a plain black for all the outside bits and a patterned fabric for the seats and back cushions. In Dunelm Mill their patterned fabrics seemed to start at about £14.99 a metre and the plain chenille was £12.99 a metre. When I tried my first attempt at working out how much fabric we would need to give us an idea of what the costs would be I was over estimating a bit to be on the safe side and reckoned we would need about 11 metres of the patterned fabric and 10 metres of the plain. This would have worked out at just under £300 which is still a lot less than £700 for a new sofa but I wanted to cut the costs down a lot more.
Buying The Fabric
I decided to have a look on Ebay to see if there were any sellers on there selling these kinds of fabrics and found a couple of sellers selling the plain black chenille. One was selling a chunkier version for £6.99 a metre with free pp and the other was selling normal chenille for £6.99 a metre but you have to pay added pp costs on top. I decided on the thinner chenille and ordered 12 metres which is probably more than I will need but I wanted to have too much rather than not enough. I can always use up extra fabric.
For the patterned fabric I spotted a seller selling some grey fabric with black chenille flowers on it and thought this would look nice with our plain black. The fabric was for an end of roll and it said it had about 9.5 metres on the roll which was plenty for what we needed so we decided to put a bid on it. The current bid was £7 plus £9.99 postage so we decided to put a bid of £50 on it which took the current bid up to £9. We didn't have too long to wait as it was finishing the next evening. I kept watch all afternoon, no one had bidded until about half hour before, then two more bidders joined in, the first took the bid to £29 then they dropped out then the next bidder took it to £51. My heart was sinking as there was not much time left, so I upped our bid to £61 and it took the current bid up to £56. It was agony watching the dying seconds tick off the auction but we won it in the end. I was so chuffed as it was going to save us a load of money and the fabric is really nice.
Here is a photo of the fabric now its arrived.
It feels like a nice quality cloth, the colour of the grey is more a taupe colour and it really looks nice and I prefer it to a stark grey, it softens the colour scheme a bit.
Cushions
Most of my supplies have turned up so I decided to have a go at making the inner cushions for the back of the sofa. The old ones had two compartments and each was stuffed with a separate cushion. These cushions had gone quite hard and compacted over time so I wanted to make new ones. I fancied having boxed cushions along the back instead but new I would have to start from scratch with making them and wasn't too sure where to start as I didn't want them coming out the wrong size or shape and wasting the fabric.
I bought some fabric from a shop called Fabricland which was called honeycombe parc and its the kind of fabric that inner cushions are made out of. It is quite stiff like its starched when it comes so was easy to use. I took the two cushion pads out of one of the cushions and measured the dimensions of the outer shells of both and then drew them onto the new fabric but joining them together in the middle so they would be just one whole pad instead of two. Once they were sewn up they looked massive and I thought they were going to be too big. I had bought a big bag of stuffing from a seller on Amazon. It was a 5kg bag and was massive when it came but somehow it worked out just the right amount to stuff the three new cushion pads.
Here is a photo of the three cushions on the settee.
I am quite pleased with them, I am going to do the outer covers boxed as well with some piping round the edges. I made up some practice covers today out of some old sheets to see if they pattern was going to work and whether the cushions were comfortable or not. I made them up a bit smaller than the inners but I think I have made them too small as they are not very high and they are a bit too plump and firm. I am going to make the actual cushion covers 2 inches longer so that it gives the cushion a bit more room to fill out. Here is a photo of the practice cushions.
I covered the foam for the seat cushion with some middle weight wadding. I stuck it on with adhesive spray. There are squares cut to fit each side and then a longer piece wrapped round from front to back leaving the sides and back open.
I made up some trial covers out of sheets again for the bottom.. The rule I saw on the internet was to cut them the same size as the measurements of the cushion so that by the time you sew in half an inch seams it will make the cover fit tight. I found that they were a little bit loose when I made them up so I was going to cut the proper ones one inch smaller all over except for the gusset.
This morning I had a mammoth cutting out session and cut out all the pieces for the cushions both seats and back. It was quite a task as I wanted to try to get all the seat pieces showing the same pattern and also I tried to get the back cushions showing the same patterns as best as I could seeing as the end ones are different shapes to the middle one.
This afternoon I made a start and sewed together the seat cushions. They were not that bad to make up really. Here is a photo of them on the chair. I need to fill out the corners a bit with some stuffing tomorrow as my pieces of foam were a bit battered and I couldn't afford to buy new bits.
The back cushions came out a lot better than the bottom. I think we will have to get some new foam for the bottom ones eventually but they will have to make do for now. Here is a photo of all the cushions on the sofa.
Stripping off the old fabric
The next job was taking off the rest of the old fabric. It was really old fabric as when I recovered it before I just went over the top on most of it. I had never stripped it right down before. Here is a photo of it after I had started taking it all off. The bit facing the camera is actually the back and the bit on top is the bottom.
The fabric was quite hard to take off as there were thousands of staples to get out. I wrote on each piece with a pen telling me where it went on the sofa and also which way round it was laying and what part it was next to so that when I cut out the new pieces I could fit it back together again properly.
Covering it all up again
Once it was all off I covered the sofa with some wadding giving extra layers to parts of the sofa that seemed to be wearing a bit thin like the arms and across the front bottom.
I have now finished the sofa. It was a lot of hard work and I ache all over with the bending and hammering. The staple gun I bought for the job didnt work, I dont know if it was the gun or the staples they supplied but it meant I had to tack it all instead which was much harder as it needed two hands where as using the stapler I could pull the fabric in place with one hand and staple it down with the other. Here is a photo of the finished sofa.
I made some scatter cushions out of the left over fabrics, I made two black ones for this sofa.
And I made two pattern ones for the other black leather sofa so it looks more like they go together.
And here is a photo of the new wallpaper we put up over the chimney plus another photo of the new curtains.
I am very pleased with the room and cant wait now to get the Christmas decorations down and put the tree up etc.