
This was the start when I had stuck strips of 2" selotape to the newspaper and cut along the edges so I had 2" strips.

These were then cut into 4.4" lengths which were folded up into the small bead kind of things that you connect together. There are many good tutorials on the internet showing you how to connect these together and make them into bags. The best thing to search for is Candy Wrapper Purse.

Once I had plenty of these little things made up I sorted them into different piles, some with more colours on and some mainly white and then put them in sets of 64. Then I connected them up into strips of 64 and joined the ends together to make rounds like these.

When I had enough rounds to make the bottom of the bag I started sewing the rounds together using a thick needle and threading the thread through the folds at the top and bottom of the pieces. Then I connected the two sides together at the bottom and it started to look like a bag. This is what it looked like joined up.


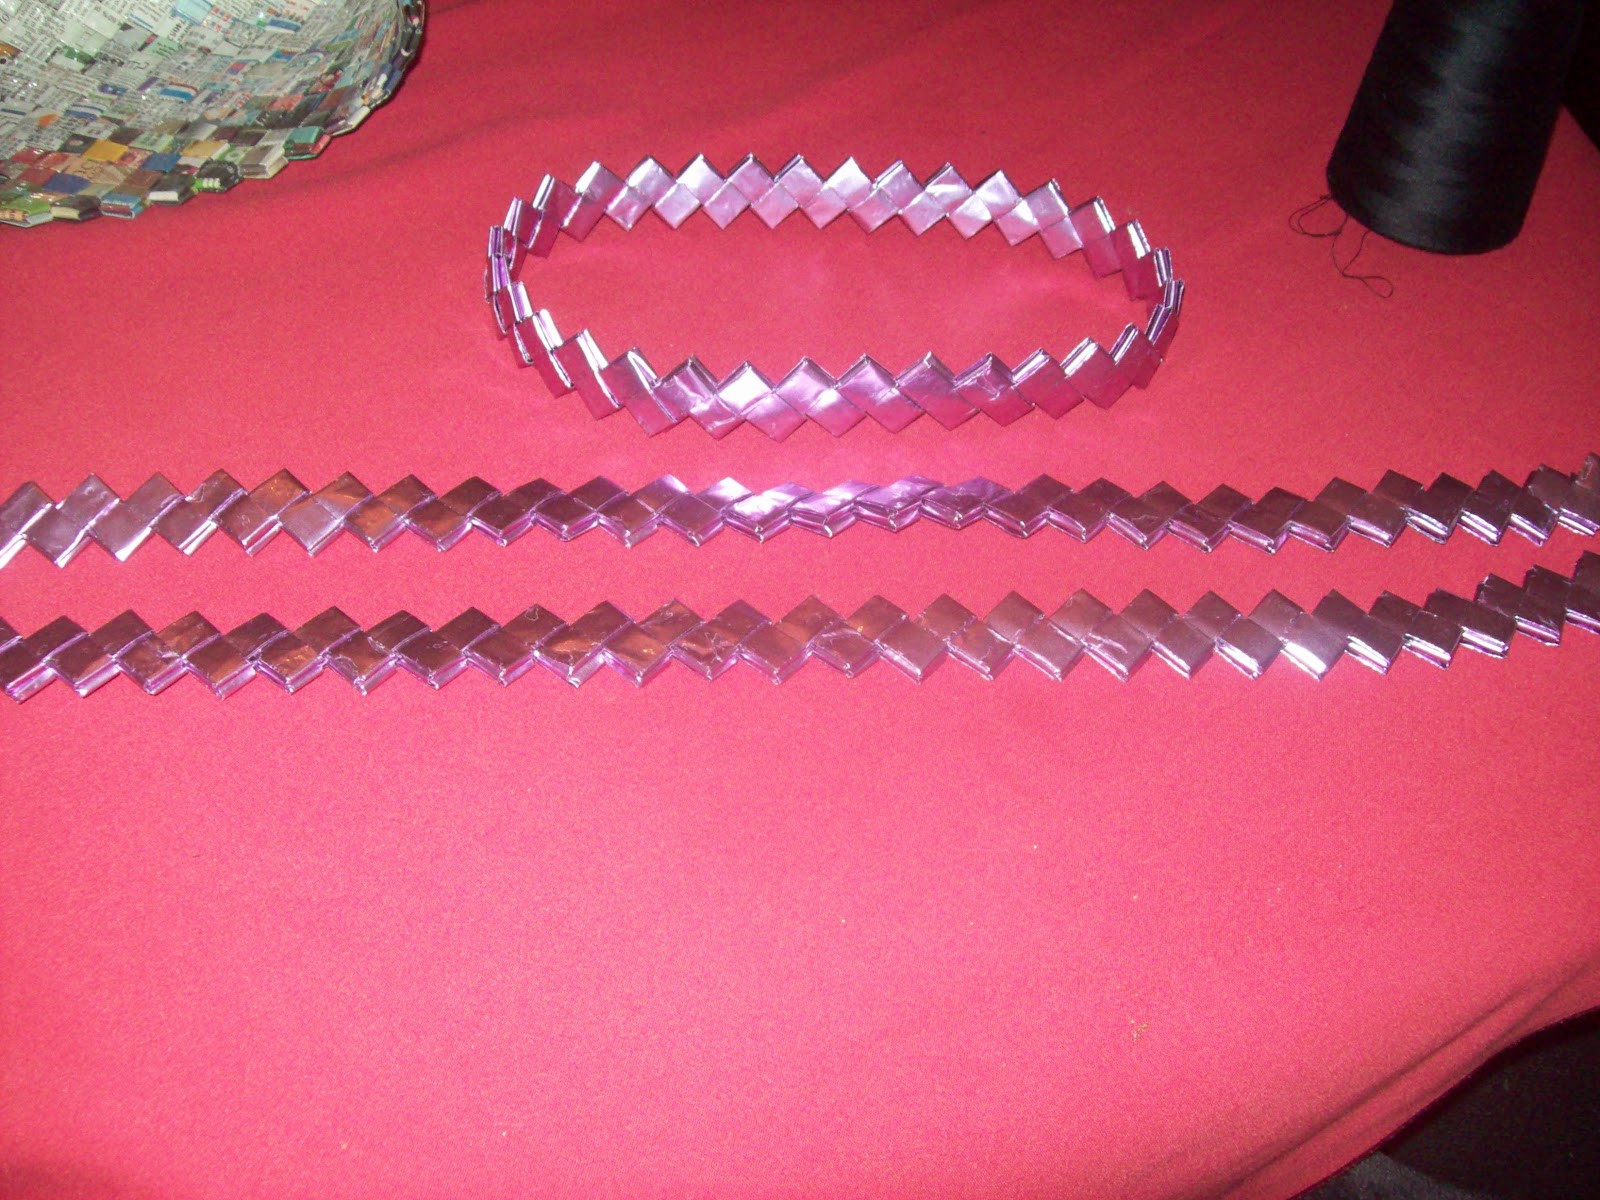
I wanted to make the top of the bag and handles out of something else instead of newspaper. I wanted something that was a block of one colour so had a look up the town and found a roll of wrapping paper in card factory for 99p. The thickness of the paper was similar to the newspaper.

The paper is metalic in finish so would give the bag a nice shiny feel to the top. These are the handles and the top round made up. My Grandson Leam came round and helped me do them, I was folding and he was threading them together.
The next photo shows the top round and handles sewn onto the bag.

Now all I needed to do was add the zip closure to the top and the bag is finished.

That is incredible! It looks like a lot of work though.
ReplyDeleteKaty
x